Assembly Instructions
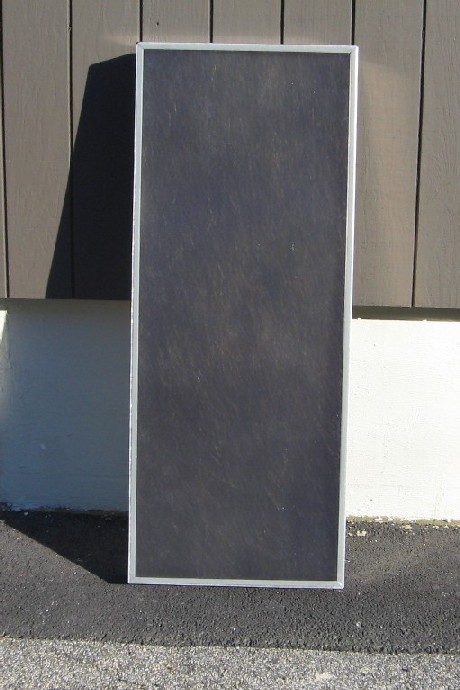
Unpack your airheater and
check to make sure you have all the parts. You should have the airheater
box, the Sun-Lite�
HP front glazing sheet, the fan and snap disc thermostat, the
backdraft damper and the duct boots for going through the wall or
roof of the house. If you purchased an assembled unit the only loose items will
be the duct boots and back draft damper. Everything else will be
assembled.
Depending on the thickness of your wall or roof you might have to either cut the length of the duct boots down or extend them with an additional pipe. It is also recommended that you insulate the back and sides of the unit with �� or 1� thick isocyanurate insulation board such as Thermax or R-max board. You can purchase this at a local building supply store in you area. Make sure that you cover any exposed edges of the insulation board with foil duct tape or the sun will deteriorate the insulation fairly quickly.
Step 1: Lay out the box and attach the fan using the screws and locknuts as shown in the photos below. It doesn�t matter what hole you use but remember that when you mount the unit the fan will be on the top.
|
|
|
Step 2: Wire the fan to the
thermostat as shown below. Set the
wires through the hole and fill the hole with silcone sealant.
|
|
|
Step
3: Turn the box over being careful not to rest it on the fan. You can hang the
fan end slightly over the end of the table as shown
below.
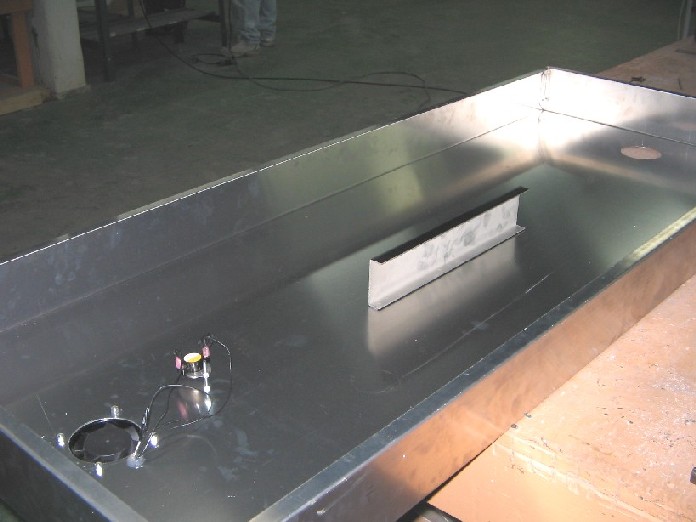
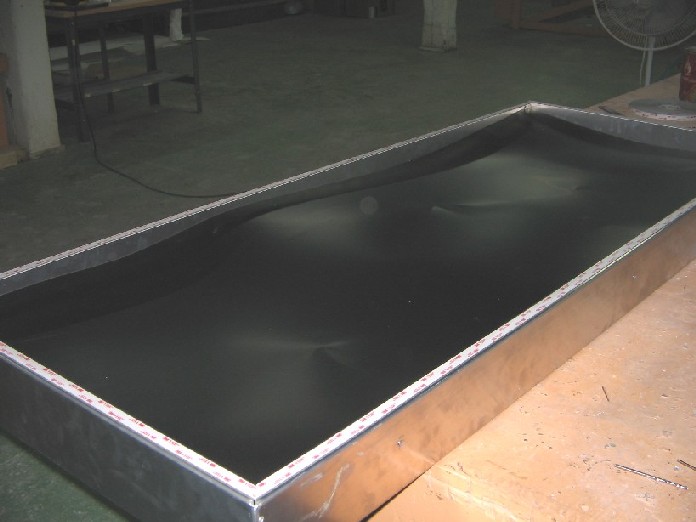
Step 4: Your ready to install the black absorber sheet in the box now. Remove the release paper from the adhesive tape on the center support and the small clips along the inside of the box and place the absorber sheet carefully into the box. Now apply some pressure on the center support and side clips to bond the tape to the absorber sheet. Note: See attached 3M Double Coated Acrylic foam tape instruction sheet for more information on the application of this adhesive tape. The airheater should now look like the picture below.
Step 5: You can now install
the Sun-Lite�
HP coversheet. Notice that the sheet has a sticker that says install
reverse side to weather. This is the inside of the sheet. The opposite side
of the sticker side is coated with our proprietary weathering
coating.
We recommend that you recoat
the Sun-Lite�
every 10 years or so.
Do not remove the release
paper from the adhesive tape just yet. Place the Sun-Lite�
sheet with the correct side out on top of the box and line it up with its
edges. When you feel that the sheet is on the box squarely remove the release
paper from one end of the box and apply pressure to the sheet. You can now work
your way down the sides of the box, a little bit at a time, removing the release
paper and applying pressure until you reach the other end. Go back and apply
pressure to the edges of the sheet until there are no air pockets left. This
adhesive tape is a very strong industrial grade tape that will last for many
years. You must allow the tape to cure for at least 24 hours at 70� F
before you proceed with the next step.
Step 6: After the adhesive
tape has cured for at least 24 hours you can now install the duct boots and
backdraft damper to the back of the unit. You�ll need a pop rivet gun, and a
drill with a 1/8� drill bit to install the duct boots. Remove the release paper
from the flange of the duct boot without the backdraft damper in it and center
it over the fan. Drill through the box with the 1/8� drill bit. You can now pop
rivet the duct boot to the box. Do the same thing with the duct boot/backdraft
damper combination centering it over the bottom hole in the box. Use the
supplied aluminum duct tape to tape over the flange so that you have a nice seal
between the duct boots and the box. You can now install any insulation board
that you have around the back and sides of the box remembering to tape up any
exposed edges of the insulation.
Step 7: Remember to seal
around the holes through your wall where the duct boots go through with
something like �Great Stuff� expanding insulating foam. Also when you do the
final wiring remember to attach the ground wire coming in to your duct to the
back of the aluminum box using a sheet metal screw.


